

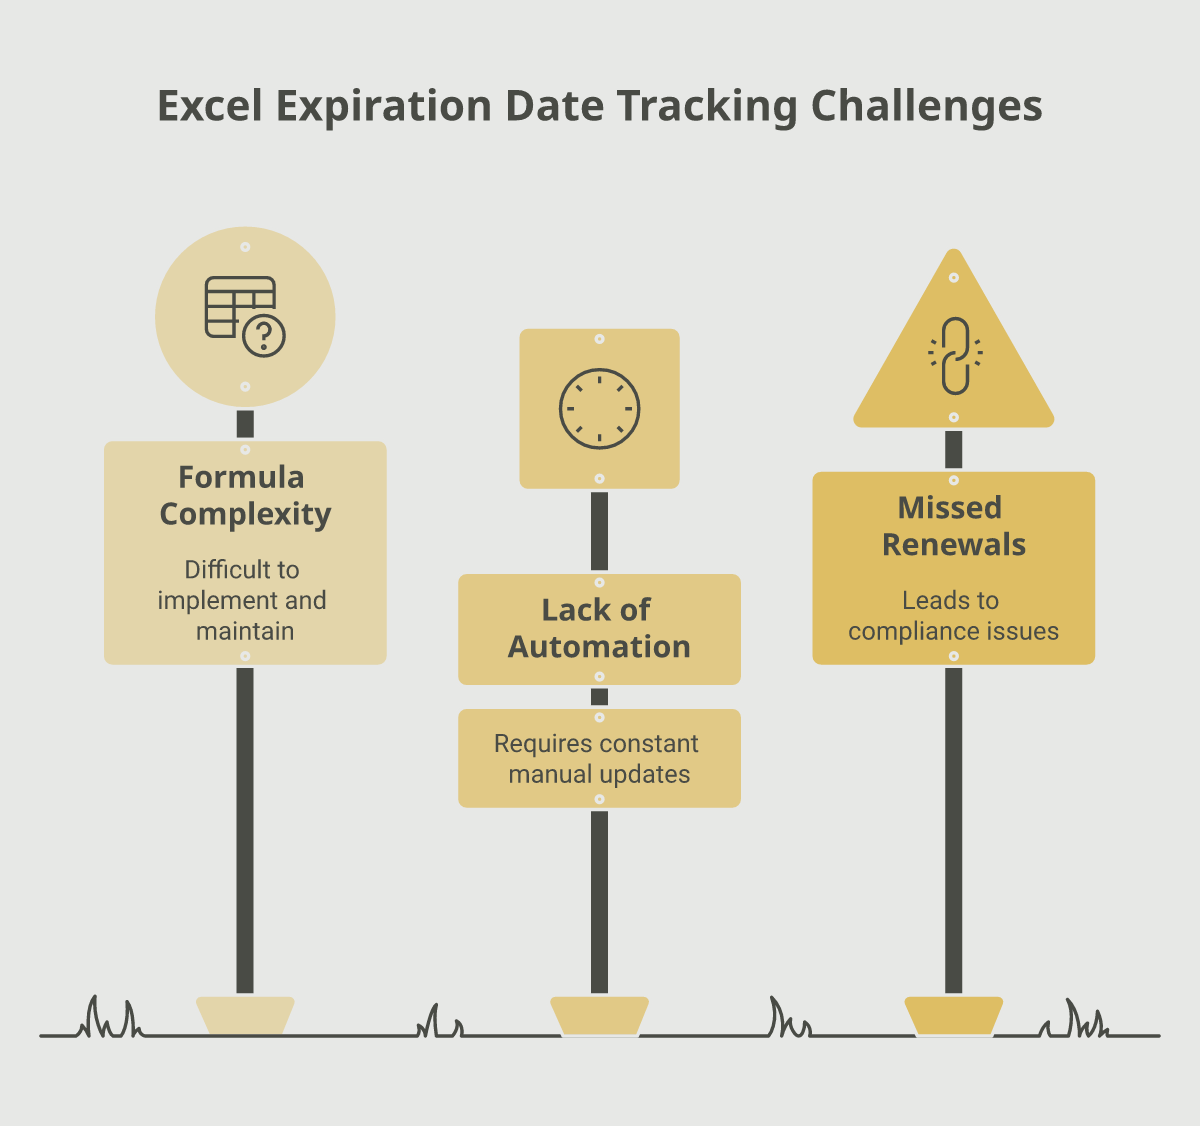
Picture a Monday morning at a mid-sized services company. The operations lead, Maria, opens the master spreadsheet she has kept for three years. An auditor is arriving Thursday to review vendor certificates of insurance. Maria scrolls, sorts, and squints at a wall of dates, hoping nothing slipped through.
One row catches her eye. A key subcontractor's insurance had lapsed eleven days ago, and no one had flagged it. The renewal was buried on row 214, far below the fold, in a tab nobody had opened since spring. Maria caught it with hours to spare. Plenty of people in her seat do not.
If you track expiration dates in Excel, that near-miss probably feels familiar. Spreadsheets are flexible, free, and already on every desktop. They are also easy to outgrow. This guide shows you exactly how to build a reliable expiration tracker in Excel, from formulas to color-coded alerts, and how to know when a spreadsheet has quietly become a liability.
Why Track Expiration Dates in Excel at All?
Every organization sits on a pile of dates that matter. Insurance certificates, professional licenses, safety certifications, software contracts, equipment inspections, permits, and warranties all expire. Miss one, and the consequences range from an awkward audit finding to a stalled project or a real safety gap.
Excel is where most teams start, and for good reason. It costs nothing extra, everyone knows the basics, and you can shape it however you like. For a short list of dates owned by one person, a spreadsheet is a perfectly sensible tool.
The trouble starts as the list grows. A tracker with 30 rows is easy to eyeball. A tracker with 300 rows across five categories, shared by four people, is a different animal. This is where structure and formulas earn their keep, and where the cracks eventually show.
The goal of this guide is simple. Build the best possible expiration tracker in Excel, understand its real limits, and make a clear-eyed decision about when to keep it and when to move on.
Step 1: Set Up a Clean Tracking Sheet
Good tracking starts with good structure. Before you write a single formula, lay out columns that capture everything you need to act on a renewal.
A practical column set looks like this:
- Item name: the license, policy, or document (for example, "General Liability COI, Acme Plumbing").
- Category: insurance, license, certification, permit, contract, and so on.
- Owner: the person or team responsible for the renewal.
- Issue date: when the document took effect.
- Expiration date: the single most important column.
- Status: a formula-driven field you will build in Step 3.
- Days remaining: another formula field.
- Notes: renewal contacts, reference numbers, links to files.
Keep one item per row and one topic per column. Resist the urge to cram two dates into a single cell or to color rows by hand. Manual formatting does not scale and it does not travel when you sort.
Format the entire expiration column as a real date, not text. Select the column, then use Home, Number, Short Date. If a date shows up left-aligned, Excel is treating it as text, and your formulas will not work until you fix it.
Finally, turn your range into an official Excel Table with Ctrl+T. Tables give you filter buttons, automatic formula fill, and named references that make the rest of this guide far easier.
Step 2: Calculate Days Until Expiration
The heart of any tracker is a live countdown. You want each row to tell you how many days remain before it expires, and you want that number to refresh on its own every morning.
Excel stores dates as serial numbers, which means you can subtract one date from another to get days. The dynamic piece is the TODAY() function, which always returns the current date and updates whenever the workbook recalculates.
The simplest days-remaining formula is a subtraction:
=[@[Expiration date]]-TODAY()A positive result means the item is still valid, and the number is how many days you have left. A negative result means it already expired, and the number tells you how far past due it is. Zero means it expires today.
If you prefer Microsoft's dedicated date function, DATEDIF calculates the interval between two dates in days, months, or years. Microsoft documents the full syntax in its DATEDIF function reference. Be aware of one catch: DATEDIF returns a #NUM! error when the start date is later than the end date, so a plain subtraction is friendlier for items that may already be past due.
For a deeper look at the different ways to measure gaps between dates, Microsoft's guide on how to calculate the difference between two dates walks through years, months, and workdays.
To keep past-due rows from looking messy, wrap the result so it reads cleanly:
=IF([@[Expiration date]]<TODAY(), "Past due", [@[Expiration date]]-TODAY())Step 3: Add a Status Column That Explains Itself
A raw number like "12" is useful, but a human-readable status is faster to scan. The idea is to translate days remaining into plain words: expired, expiring soon, or current.
A nested IF formula handles three tiers well. This version flags anything already expired, warns on anything within 30 days, and marks everything else as current:
=IF([@[Expiration date]]<TODAY(), "Expired",
   IF([@[Expiration date]]<=TODAY()+30, "Expiring soon", "Current"))
Adjust the 30 to match your lead time. Insurance renewals might need 30 days, while a professional license that requires continuing education could need 90. You can even add a fourth tier for a 60-day heads-up by nesting one more IF.
If nested formulas make you nervous, the IFS function reads more cleanly for multiple conditions and avoids counting parentheses. Either approach produces the same result, so use whichever your team will understand six months from now.
The point of a status column is accountability. When the whole team can see "Expiring soon" in plain language, the renewal stops being one person's private worry and becomes a shared, visible task.
Step 4: Highlight Expiring Dates With Conditional Formatting
Numbers and words are good. Color is faster. Conditional formatting lets Excel paint each row automatically based on its status, so your eye lands on the problems first.
Here is how to set it up:
- Select your expiration date column, or the whole table if you want full-row highlighting.
- Go to Home, Conditional Formatting, New Rule.
- Choose "Use a formula to determine which cells to format."
- Enter a formula and pick a fill color.
Create three rules, in this order:
- Expired (red):
=$E2<TODAY()where column E holds the expiration date. - Expiring soon (amber):
=AND($E2>=TODAY(), $E2<=TODAY()+30) - Current (green):
=$E2>TODAY()+30
The AND function in the amber rule matters. It highlights a date only when both conditions are true, so a row turns amber only inside your warning window and not before. Lock the column reference with a dollar sign so the rule applies across the row.
Once these rules are live, your tracker becomes a traffic-light dashboard. Red rows demand action today, amber rows need attention this month, and green rows can wait. You never have to remember which cutoff you chose, because the colors carry that logic for you.
Step 5: Build a Simple Alert View
Color helps only when someone is looking at the sheet. To make expirations come to you, build a filtered view that surfaces just the items that need attention.
The easiest method uses your Excel Table filters. Click the filter arrow on the Status column and check only "Expired" and "Expiring soon." Now the sheet shows a short, focused action list instead of hundreds of rows.
For a cleaner summary, add a small dashboard cell using COUNTIF. This formula counts how many items are expiring soon:
=COUNTIF(Table1[Status], "Expiring soon")Put a few of these counts at the top of your sheet, one for each status. At a glance, anyone can see "3 expired, 7 expiring soon" without scrolling. It is a small touch that turns a passive list into an active summary.
You can go one step further with FILTER, available in current versions of Excel, to spill a live list of at-risk items onto a separate tab. That gives you a self-updating renewal queue built entirely from formulas.
The Honest Limits of Tracking Expiration Dates in Excel
Here is the part most tutorials skip. A spreadsheet can do everything above, but it cannot do the one thing that matters most: reach out on its own when a date is near. Excel waits for a human to open it.
That dependence on human diligence is where spreadsheets quietly fail. The research is sobering. A 2024 review published in Frontiers of Computer Science found that 94% of business spreadsheets contain errors, a rate that has held remarkably steady across decades of study.
Those errors are not rare typos. Foundational research by spreadsheet expert Raymond Panko, summarized in his review Spreadsheet Errors: What We Know, documents cell error rates in the range of 1 to 5 percent, which compounds fast across hundreds of formulas. One dragged formula, one row inserted outside a named range, or one date typed as text, and your traffic lights go dark without warning.
Consider the failure modes that hit expiration trackers specifically:
- No proactive alerts. The sheet cannot email you. If nobody opens it, nobody knows.
- Version chaos. Someone downloads a copy, edits it, and emails it around. Now there are three "master" files and no truth.
- Silent formula breaks. A sort, a deleted row, or a text-formatted date can break a rule while everything still looks fine.
- No audit trail. When a certificate lapses, you cannot prove who was notified or when.
- Single point of failure. The one person who understands the workbook goes on leave, and the system goes with them.
The stakes rise with the size of your organization. The Ponemon Institute's True Cost of Compliance study found that non-compliance costs organizations far more than the price of staying compliant, once you add up business disruption, penalties, and lost productivity. A lapsed insurance certificate or an expired license is exactly the kind of small miss that triggers those outsized costs.
None of this means Excel is bad. It means Excel is a starting point, not a finish line. When your tracker protects something that carries real risk, you need a system that works even when no one is watching the sheet.
When to Move Beyond the Spreadsheet
So how do you know you have outgrown Excel? A few honest signals:
- You track more than a couple dozen items, or more than one category.
- More than one person needs to update or read the tracker.
- A missed renewal would cost real money, block a project, or fail an audit.
- You find yourself setting personal calendar reminders to go check the spreadsheet.
That last one is the tell. If you need a reminder to look at your reminder system, the system is not doing its job.
Purpose-built tools like [Expiration Reminder](/features) solve the core weakness by flipping the model. Instead of waiting for you to open a file, the software watches every date and sends automated email and text alerts to the right people, at the intervals you choose, well before anything lapses. Renewals become a notification you receive, not a chore you have to remember.
You also gain a single source of truth, a real audit trail of who was notified and when, and dashboards that give leadership visibility without anyone maintaining a formula. The peace of mind comes from removing human memory from the critical path.
If you are curious how the handoff works, the migration process imports your existing Excel data without losing any of your history, so you keep every date you have already collected.
See Reminders Work Without Lifting a Finger
If you have ever caught an expired document by luck, that is your cue. You can [start a free trial of Expiration Reminder](/pricing) and import your current spreadsheet in minutes. Let the system carry the dates you have been carrying in your head. It is a small change that closes a surprisingly expensive gap.
Key Takeaways
- Structure first. A clean Excel Table with one item per row and dates formatted as real dates is the foundation of any reliable tracker.
TODAY()makes it live. Subtracting the expiration date fromTODAY()gives a countdown that refreshes automatically every day.- Status plus color equals clarity. Nested
IFformulas and conditional formatting turn a list of dates into a scannable traffic-light dashboard. - Excel cannot alert you. The biggest weakness of any spreadsheet tracker is that it depends on a human opening it. It has no proactive notifications and no audit trail.
- Errors are the norm, not the exception. Research shows the vast majority of business spreadsheets contain errors, so high-stakes dates deserve a more dependable system.
- Automate when the stakes rise. Once multiple people, multiple categories, or real compliance risk are involved, automated reminders remove human memory from the critical path.
Frequently Asked Questions
How do I get Excel to highlight dates that are about to expire?
Use conditional formatting with a formula rule. Select your date column, go to Home, Conditional Formatting, New Rule, choose "Use a formula," and enter =AND($E2>=TODAY(), $E2<=TODAY()+30) to highlight anything expiring within 30 days. Add a second rule using =$E2<TODAY() to flag items that have already expired in red.
Can Excel send me an email or reminder when a date is near?
Not on its own. Native Excel has no built-in way to send proactive email or text alerts, which is its single biggest limitation as a tracker. You would need custom macros, scripts, or a third-party add-in, and those still depend on the workbook being open or a server running. A dedicated reminder tool handles this automatically.
What is the best formula to count down days until an expiration date?
The simplest and most robust option is =[Expiration date]-TODAY(), since Excel stores dates as numbers you can subtract. This returns positive days for valid items and negative numbers for past-due ones. The DATEDIF function also works, but it throws a #NUM! error once a date is in the past, so plain subtraction is more forgiving.
Why do my Excel date formulas show errors or wrong results?
The most common cause is dates stored as text rather than real dates. If a date is left-aligned in its cell, Excel sees it as text and date math will fail. Reformat the column as Short Date, and re-enter any stubborn values. Sorting or inserting rows can also break conditional formatting rules that use fixed cell references.
How many expiration dates can I realistically manage in a spreadsheet?
There is no hard limit, but practical reliability drops fast beyond a couple dozen items or once more than one person is involved. As volume and shared ownership grow, so does the chance of an unnoticed error or a missed renewal. Most teams outgrow the spreadsheet well before they expect to.
Is it safe to rely on Excel for compliance tracking?
For low-risk, single-owner lists, Excel is fine. For anything tied to audits, safety, insurance, or licensing, it is risky because the sheet cannot alert you and offers no audit trail. Given how often spreadsheets contain errors, high-stakes compliance deserves a system with automated, verifiable reminders.
Your Implementation Checklist
Follow these steps to build a solid Excel tracker today, and to recognize when it is time to graduate.
- Create the table. Add columns for item, category, owner, issue date, expiration date, status, days remaining, and notes. Press Ctrl+T to make it an Excel Table.
- Fix your date formatting. Format the expiration column as Short Date and confirm every value is right-aligned.
- Add the countdown. Enter
=[@[Expiration date]]-TODAY()in the days-remaining column so it updates automatically. - Build the status column. Use a nested
IForIFSformula to label each row Expired, Expiring soon, or Current, with a lead time that fits your needs. - Turn on conditional formatting. Create red, amber, and green formula rules so the sheet color-codes itself.
- Add a summary. Use
COUNTIFcells at the top to show how many items are expired or expiring soon at a glance. - Assign an owner. Put one name against each item and one name in charge of the whole sheet.
- Set a recurring check. Add a standing calendar reminder to open and review the tracker on a fixed cadence.
- Watch for the warning signs. When you pass a couple dozen items, add a second editor, or start tracking anything audit-related, plan your move to automated reminders.
PS: A missed renewal is rarely a knowledge problem. The date was almost always sitting right there in a spreadsheet nobody opened in time. Automating your reminders turns that quiet risk into a notification you simply receive, so an expired license or lapsed certificate never catches your team by surprise again.